How much does a kitchen splashback cost?
 By Tom Ellis
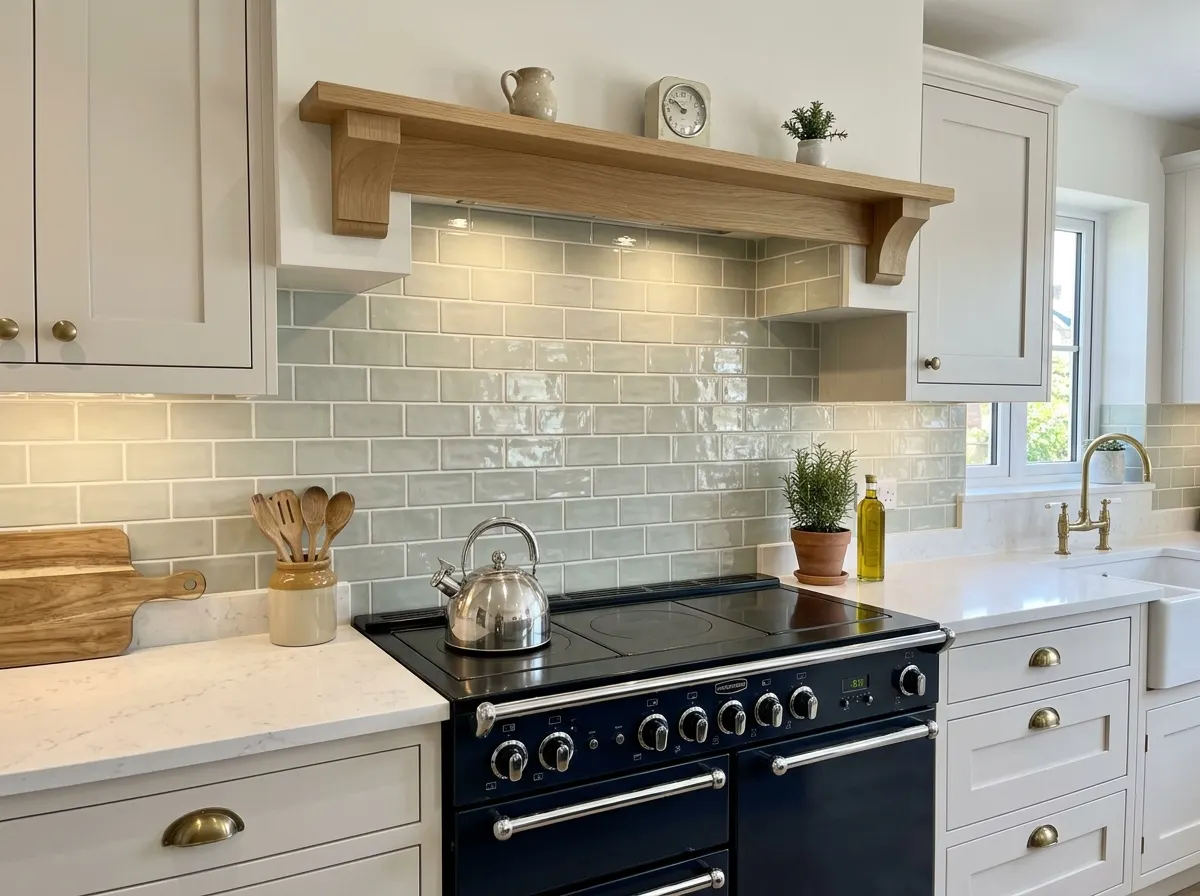
A splashback serves a vital functional purpose—protecting your walls from boiling water, grease splatters, and cooking stains. However, it is also one of the most prominent visual features in your kitchen, capable of tying the entire design together or making a bold, standalone statement.
Prices move month to month. See how they are changing in the Penguin Index, or compare common jobs across the UK in our UK Home Improvement Cost Report.
Pricing varies wildly based on the material and the amount of wall you intend to cover. A simple tiled area behind the hob might cost £150, while wrapping your entire kitchen in premium bookmatched quartz can exceed £2,000. This 2026 guide breaks down the true supply and installation costs per square metre for every major material.
£40 - £120 / m²
Supplied and fitted cost for standard ceramic tiles and grouting. Classic, durable, but requires scrubbing.
£180 - £360 / m²
Supplied and fitted cost. Highly modern, seamless, and easy to clean. Available in any custom painted colour.
£180 - £320 / m²
Supplied and fitted cost for premium quartz slabs continuing up the wall from the worktop for a seamless look.
Get an instant estimate for your kitchen
Splashback Materials
The material you choose dictates the price, the aesthetic, and how much time you will spend cleaning it. Here are the four primary options in the UK market.
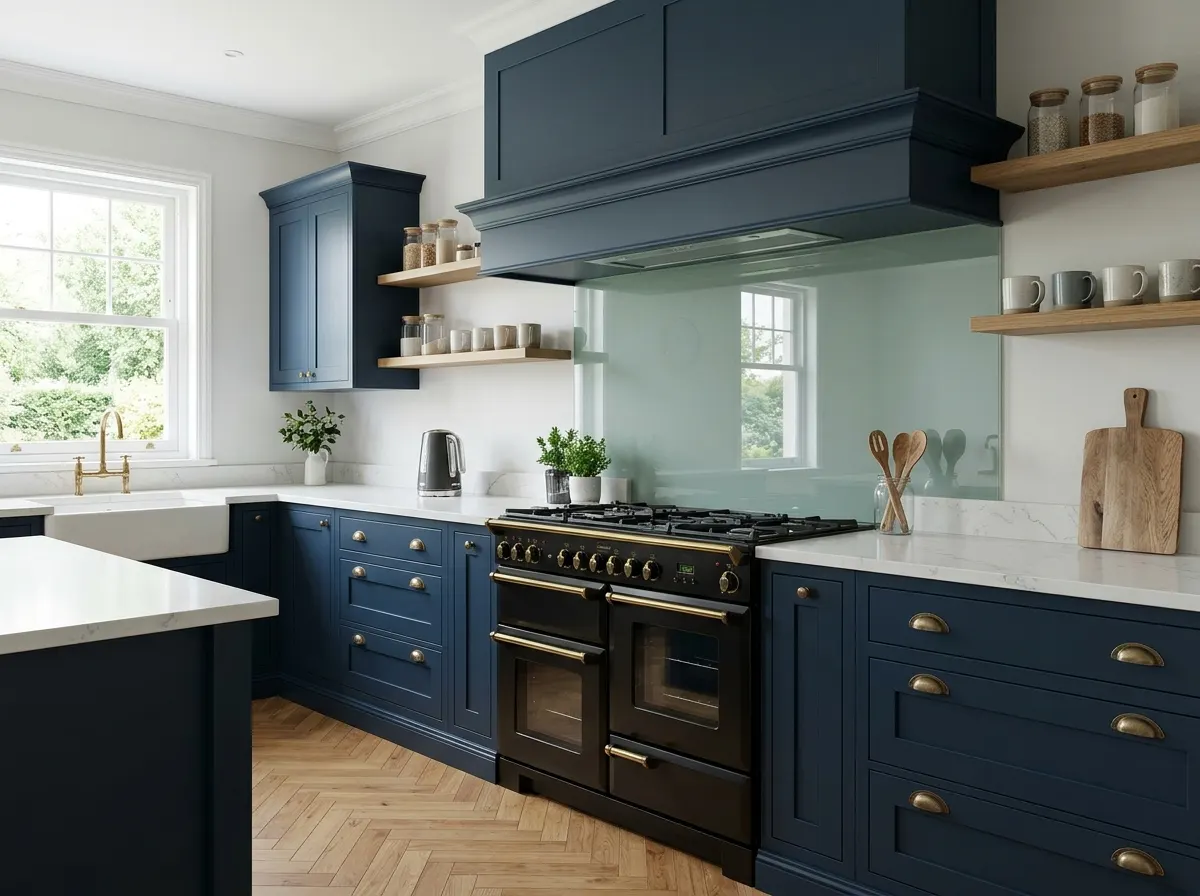
Toughened Glass
Most PopularHighly reflective, bouncing light around the room. It is completely seamless (no grout to clean) and can be back-painted in any custom RAL colour or digitally printed with high-res images. Must be toughened to withstand the heat behind a hob.
£180 – £360 / m² (Supplied & Fitted)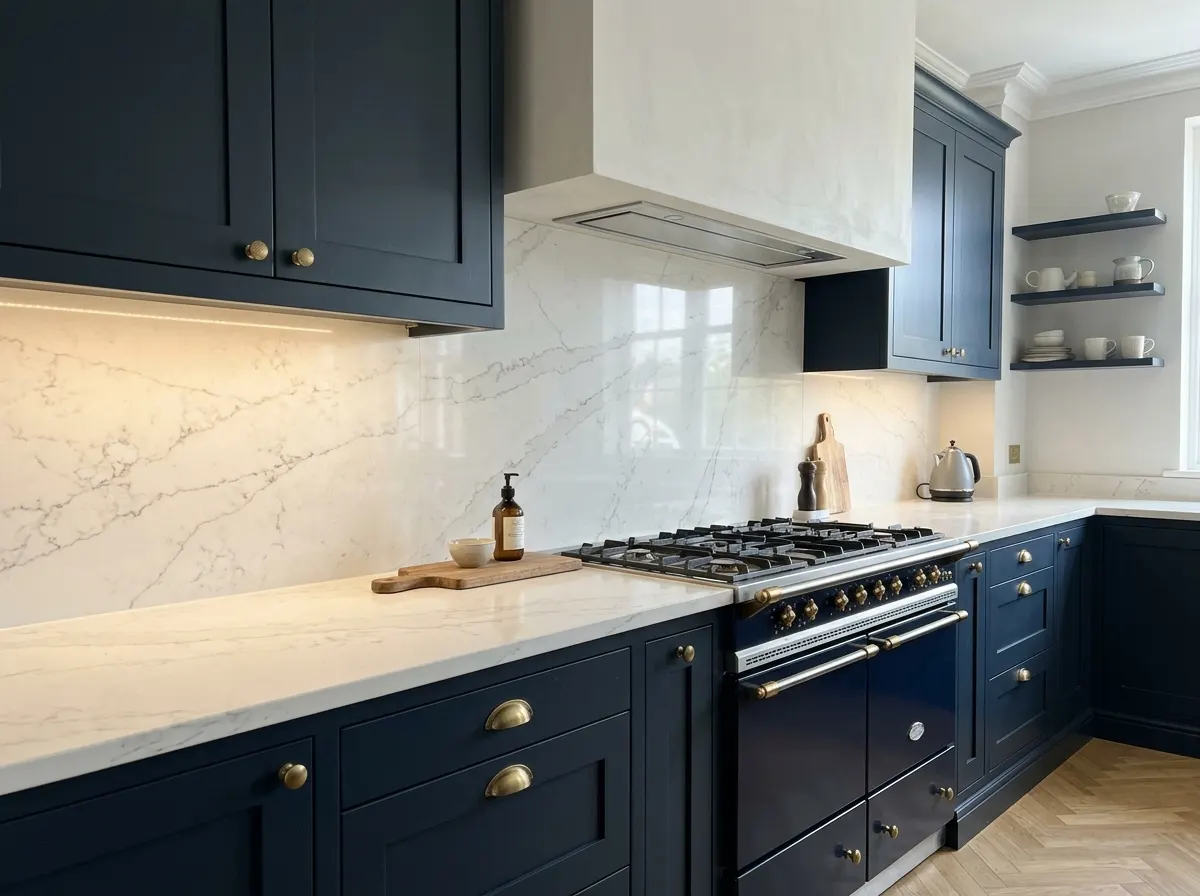
Engineered Quartz / Stone
Premium LuxuryContinuing the quartz from your worktop up the wall creates an incredibly luxurious, seamless aesthetic. It is heat resistant, non-porous, and built to last 25+ years. Heavy veining (like Calacatta marble effects) will command the highest prices.
£180 – £320+ / m² (Supplied & Fitted)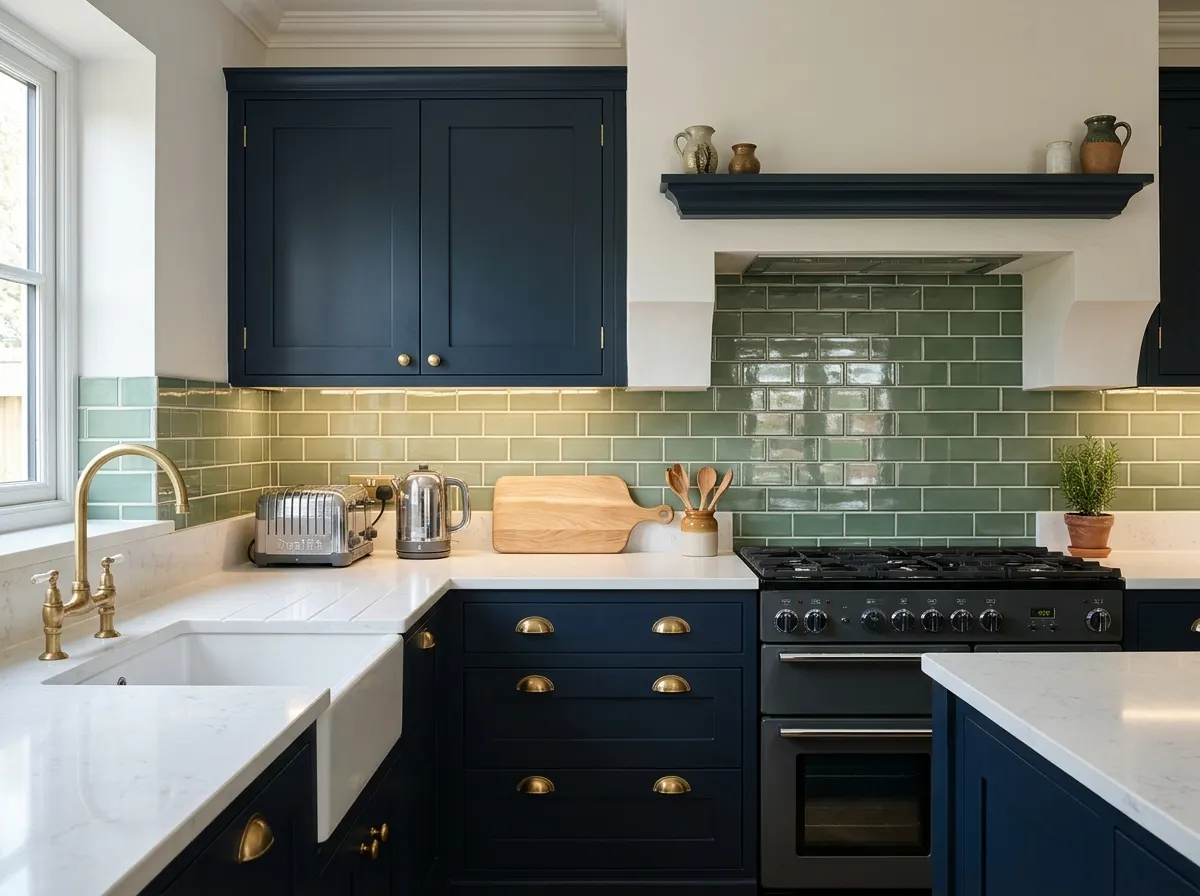
Ceramic / Porcelain Tiles
Traditional & BudgetFrom classic white 'metro' tiles to intricate herringbone patterns, tiling offers the most variety. The tiles themselves are very cheap, but laying them takes considerable labour. The major downside is that grout lines collect grease and require vigorous scrubbing.
£40 – £120 / m² (Supplied & Fitted)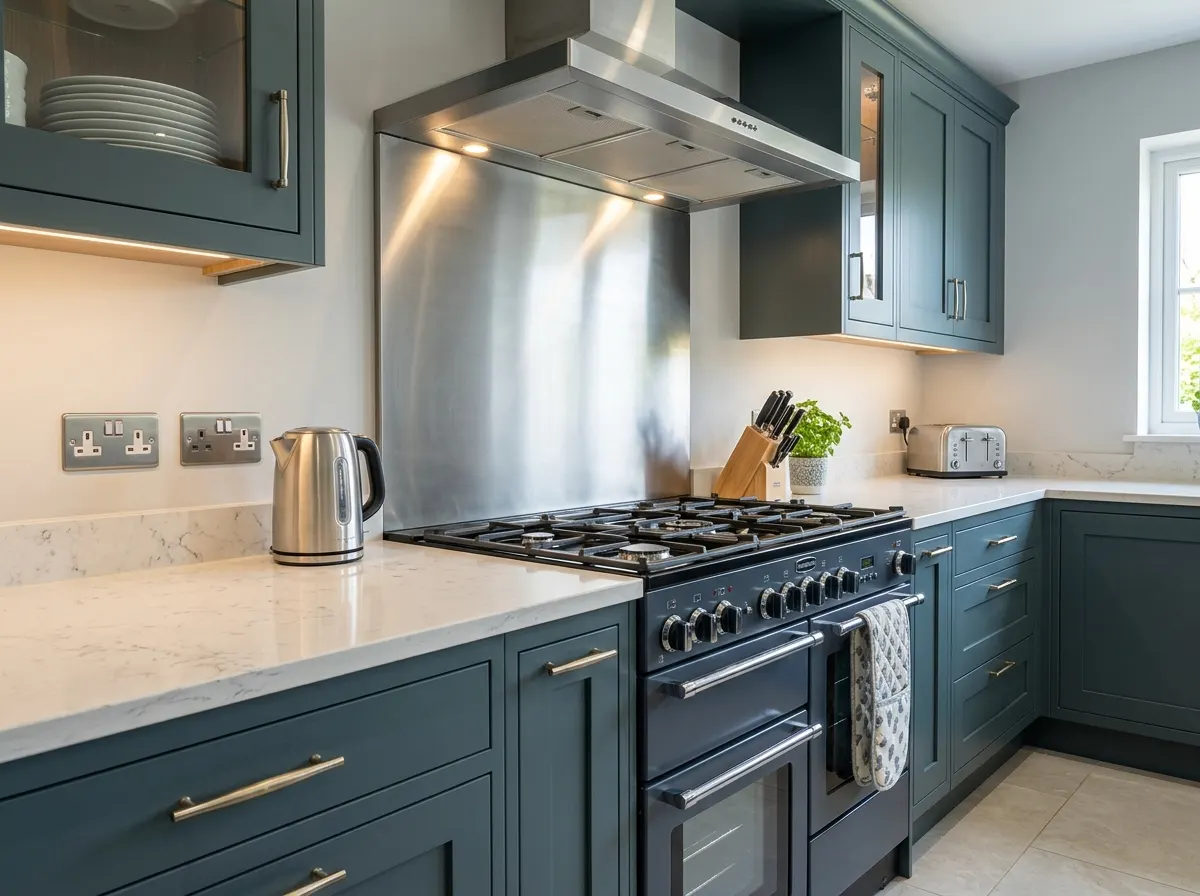
Stainless Steel
Industrial LookThe standard for commercial kitchens, now highly popular in modern, industrial-style domestic homes. It is completely heat and fire-proof, exceptionally hygienic, and durable. However, brushed steel shows fingerprints and watermarks very easily.
£200 – £350 / m² (Supplied & Fitted)The Big Decision: Upstand vs. Full-Height
If you are ordering a quartz or granite worktop, the fabricators will ask how much wall coverage you want. This decision drastically alters the aesthetic and the final invoice.
The 100mm Upstand
A slim 100mm (or 150mm) strip of stone that runs along the back of the worktop. It looks like a continuation of the counter and protects the immediate wall from minor water splashes near the sink.
- • Minimalist and subtle
- • Highly cost-effective
- • Leaves the wall above exposed (often painted)
Full-Height Splashback
The stone (or glass) runs entirely from the worktop up to the underside of your wall units (typically 450mm to 650mm high). It covers the entire wall, creating a massive, dramatic focal point.
- • Ultimate luxury aesthetic
- • Zero painted walls to clean
- • Very expensive due to the massive slab volume used
Compromise Option: Many homeowners choose a 100mm upstand around the perimeter of the kitchen, but install a single, full-height feature panel strictly behind the hob to catch cooking grease.
Complete Cost Breakdown
We have analysed the 2026 UK market to create these benchmark averages. The figures below represent the complete average costs to supply and professionally fit the materials.
Supplied & Fitted Costs (per m²)
- Ceramic / Porcelain Tiles £40 – £120 / m²
- Basic Painted Glass £180 – £280 / m²
- Custom Painted / Mirrored Glass £300 – £450 / m²
- High-End Digital Print Glass £350 – £600 / m²
- Standard Quartz (Full Height) £180 – £250 / m²
- Premium Veined Quartz (Calacatta) £280 – £320+ / m²
Real World Kitchen Estimates
How these square metre rates translate into a total bill for a typical kitchen installation:
- Single Hob Panel Only (Glass) £180 – £420
- Full 3m Kitchen Run (Glass) £450 – £900
- Full 4-6m Kitchen Run (Premium Quartz) £800 – £1,400+
- Small Kitchen Tiling (Labour & basic tiles) £300 – £500
Labour & Socket Cutouts
If you buy the glass or acrylic panels online yourself, you will need to pay a fitter to install them. Professional installation labour in the UK generally ranges from £48 to £120 per square metre.
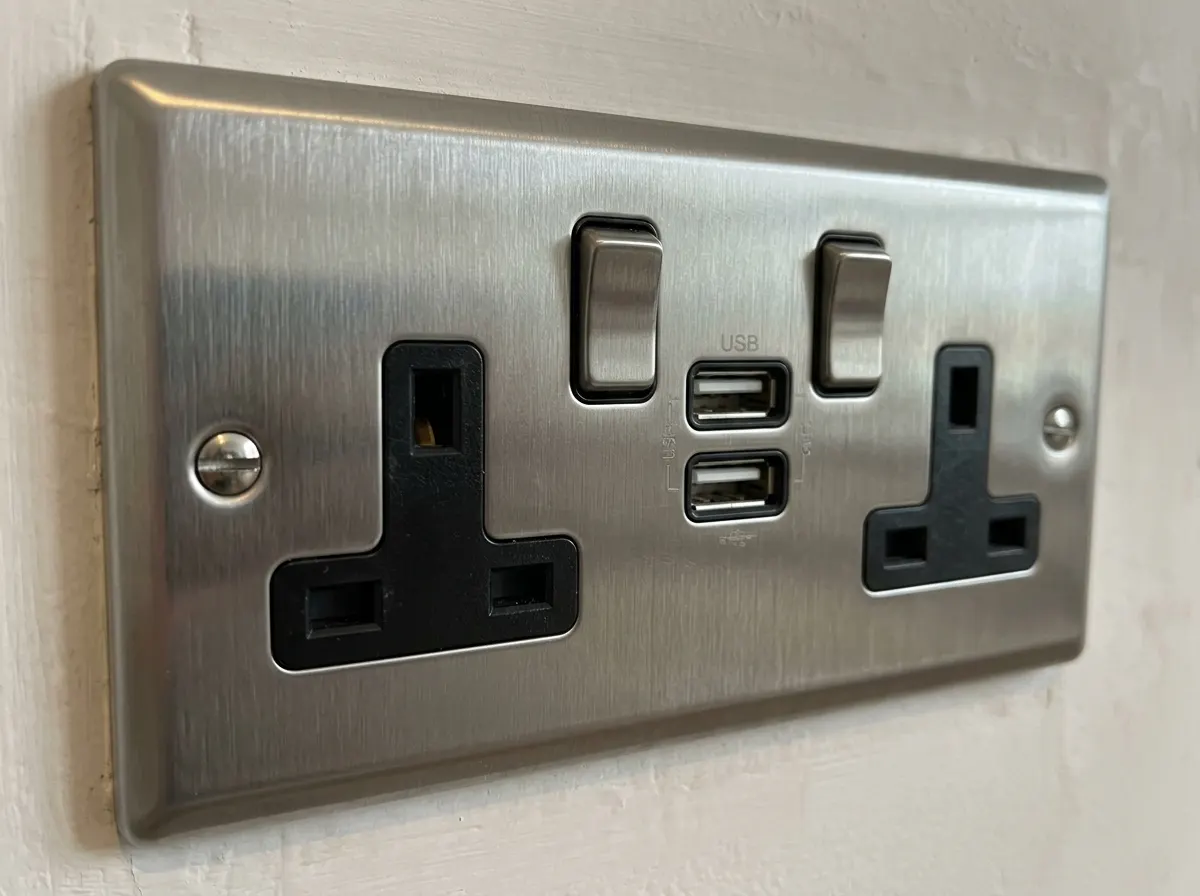
The biggest hidden cost is socket cutouts. Every time an electrical socket sits on the wall being splashed, a precise hole must be CNC-machined into the glass or quartz at the factory before it is tempered. You cannot drill these holes on-site.
- Socket Cutout Fee (Glass/Quartz) £40 – £80 per socket
- Wall Levelling Prep Work £100 – £200 total
- Adhesives & Silicone Sealants £10 – £20 total
The Templating Process
Bespoke glass and quartz must be measured flawlessly. A company will send an engineer to "template" your kitchen using lasers to measure the exact millimetre requirements and note every socket location.
They then return 2-3 weeks later to fit the manufactured panels. This two-visit process is why professional glass and quartz splashbacks carry a premium labour cost compared to simple tiling.
Crucial Kitchen Warnings
A beautiful splashback can become a dangerous fire hazard if you choose the wrong material for the wrong location. Watch out for these red flags:
Acrylic Behind Gas Hobs
Acrylic (Perspex) is a cheap, DIY-friendly alternative to glass. However, it is plastic. It must never be installed directly behind a gas hob. The intense heat of the naked flame will scorch, melt, and potentially ignite the acrylic panel.
Un-Toughened Glass
Standard glass will shatter when exposed to the rapid temperature changes behind a cooking area. Any glass splashback must be specifically treated as 'Toughened' (tempered) safety glass to withstand temperatures up to 250°C.
Uneven Walls
Large panels of rigid glass or quartz require an absolutely flat wall. If your plastering is bumpy or bowing, the panels will not adhere properly and may crack under stress. The fitter must prep and level the wall first, which incurs extra costs.
Regional Labour Differences
While the raw materials (the quartz slab or the glass pane) are priced consistently by national suppliers, the installation labour varies significantly depending on your postcode.
Fitters and tillers in London and the South East typically charge 20% to 30% more than the national average. A splashback installation that costs £400 in Wales or the North will likely quote at £500+ in the capital to cover increased living and travel costs.
- London & South East + 20% to 30%
- Midlands & South West National Average
- North, Wales & Scotland - 10% to 15%
Cost-Saving Advice
- ✓ Move the sockets: Socket cutouts cost £40-£80 each. If you are doing a full kitchen refit, ask the electrician to position the plug sockets slightly higher up the wall, entirely out of the splashback zone.
- ✓ Targeted coverage: Don't wrap the whole kitchen in glass. Install a stunning, expensive feature panel directly behind the hob where it's needed most, and use a cheap, matching 100mm upstand everywhere else.
How Long Does a Kitchen Splashback Take?
A standard tiled or glass kitchen splashback typically takes 1 to 2 days to prepare, install, and seal. Below is a detailed breakdown of the installation process, material types, and factors that can impact the timeline.
Schedule of Works (Standard Tiled Splashback)
Preparation & Masking
The tiler protects your new kitchen worktops with heavy-duty dust sheets and masking tape. The wall is prepped by removing old peeling paint, sanding down high spots, and applying an acrylic primer to ensure the tile adhesive grips properly.
Setting Out & Cutting
A laser level is used to find the dead centre of the focal point (usually the hob). The tiler dry-lays the tiles to plan the cuts, ensuring there are no ugly, thin slivers at the edges. Sockets and switches are unscrewed and pulled slightly forward to tile behind them.
Fixing the Tiles
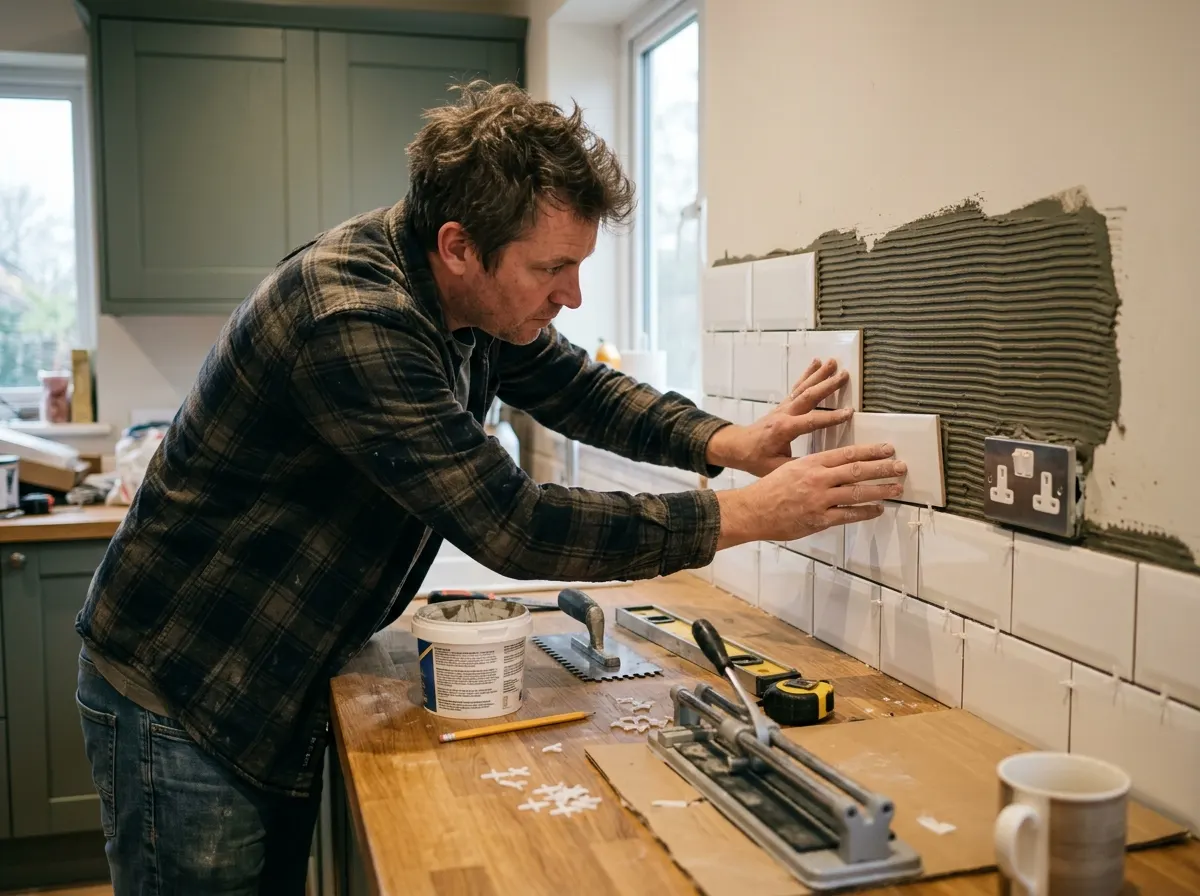
The tile adhesive is trowelled onto the wall in small sections. The tiles are firmly pressed into place using plastic spacers to maintain perfect 2mm or 3mm grout lines. A wet tile saw or manual cutter is used for precision cuts around plug sockets. The wall is left overnight to set.
Grouting & Sealing
The spacers are removed, and grout is pushed deeply into the joints using a rubber float. The excess is sponged off to leave a clean finish. Once dry, a bead of colour-matched or clear sanitary silicone is applied along the worktop joint to create a watertight seal.
Timeline by Material Type
What could cause delays?
If the tiler is removing old tiles and they pull the underlying plaster or plasterboard off the wall, the entire section will need to be re-boarded or skimmed and left to dry before new tiles can be laid.
If you want to add under-cabinet lighting or move an awkwardly placed double socket, an electrician must complete this "first-fix" wiring before the tiler can start.
Glass panels require perfectly flat surfaces to adhere without cracking. If your kitchen walls are heavily bowed, the fitter will have to spend extra hours building up the wall perfectly level with filler or adhesive.
DIY Kitchen & Bathroom Splashbacks
While fully tiling a large bathroom from floor to ceiling requires significant skill to keep everything perfectly plumb and level, putting up a small kitchen or sink splashback is the perfect beginner-friendly DIY project. Professional tilers typically charge £200 to £300 a day, meaning the labour alone for a small splashback often costs more than the tiles themselves.
If you choose a classic "metro" tile, you can buy ready-mixed tub adhesive, a cheap manual tile cutter, and a bag of grout for under £50. Alternatively, if you want a modern, seamless look, buying made-to-measure acrylic or toughened glass panels and sticking them directly to the wall with clear silicone is an incredibly fast job that completely eliminates a tradesperson's day rate.
| Task (Average 3m² Kitchen) | Professional Cost (Labour) | DIY Cost (Materials/Tools) | Potential Saving |
|---|---|---|---|
| Standard Ceramic Tiled Splashback | Professional Cost £200 – £350 | DIY Cost £40 – £70 (Adhesive, Grout, Cutter) | Potential Saving Up to £280 |
| Fitting an Acrylic/Glass Panel Splashback | Professional Cost £150 – £250 | DIY Cost £10 – £20 (Grip fill & Silicone) | Potential Saving Up to £230 |
| Applying Peel-and-Stick Vinyl Tiles | Professional Cost £100 – £150 | DIY Cost £0 (Just your time) | Potential Saving Up to £150 |
| Silicone Sealing the Worktop Joint | Professional Cost £60 – £90 | DIY Cost £10 (Sanitary Silicone) | Potential Saving Up to £80 |
Frequently Asked Questions
The most important things you need to know before booking a kitchen splashback installer.
How much does a glass kitchen splashback cost per square metre?
In 2026, a bespoke toughened glass kitchen splashback costs between £180 and £360 per square metre, fully supplied and fitted. A single feature hob panel (typically 900mm x 600mm) usually costs around £180 to £420, depending heavily on custom painted colours, printed designs, or CNC electrical socket cutouts.
Is a quartz kitchen splashback more expensive than ceramic tiles?
Yes, significantly. A full-height solid quartz splashback typically costs between £180 and £320 per square metre, while standard ceramic wall tiles usually cost £40 to £120 per square metre fully fitted. However, quartz offers a highly durable, premium seamless finish with zero porous grout lines to maintain or clean.
What is the cheapest kitchen splashback material available?
Acrylic or laminate splashbacks are the absolute cheapest options on the UK market, often costing just £30 to £60 per square metre (supply only). Basic ceramic metro tiles are also highly affordable. However, you must remember that acrylic cannot be placed directly behind a gas hob as the naked flames will cause it to warp and melt.
How much does professional splashback installation cost?
Professional kitchen fitter installation labour typically ranges from £48 to £120 per square metre, depending on the complexity of the material (e.g., heavy quartz versus light acrylic) and your UK location. Fitting a simple, single pre-cut toughened glass panel directly behind a cooker hob might only cost £60 to £100 in labour.
Can I glue a glass splashback directly over old kitchen tiles?
Yes, you can securely bond a glass splashback over existing tiles provided they are completely flat, solidly attached to the plaster, and thoroughly degreased. However, adding 6mm of toughened glass over thick tiles will push the splashback out significantly from the wall, which can look clumsy where the exposed edges meet your kitchen cupboards.
Is a solid quartz splashback safe to use behind a gas hob?
Yes, for normal cooking warmth. Engineered quartz worktops and splashbacks can generally withstand direct temperatures up to 150°C. It is perfectly safe behind induction, electric, and standard gas hobs, provided it is installed according to the manufacturer's strict clearance guidelines (usually requiring a minimum 50mm gap from the heat source).
Do I legally need toughened glass for a cooker splashback?
Yes, if placing it behind a heat source. Standard glass will crack under the intense thermal shock of boiling pots and stovetops. UK safety regulations dictate that any glass splashback installed behind a gas, electric, or induction hob must be made from high-quality toughened (tempered) glass, which is up to five times stronger than standard float glass.
How do I measure for electrical socket cutouts on a glass splashback?
Glass cannot be cut or drilled once it has been toughened. Therefore, all electrical socket cutouts, switch holes, and bespoke edges must be precision-measured and CNC-cut at the factory before the tempering process. A professional installer will always create a precise rigid template of your wall to ensure the glass perfectly aligns with your existing wiring.
Disclaimer: The figures in this guide are carefully calculated averages derived from UK kitchen design industry cost data for 2026. Material prices and labour rates will fluctuate based on local availability, access, finish specification, and exact project scope.
Related Kitchen & Interior Guides
Ready to upgrade your kitchen?
Use our AI to get a precise estimate based on your desired material and kitchen size, then connect with Pricing Penguin Accredited fitters near you.
Did you find this page helpful?
Let us know if this guide helped you plan your kitchen splashback project.